Whilst anything crafty fills me with fear (scary glitter), these ideas are great for the kids and they can be as simple or complicated as you like!
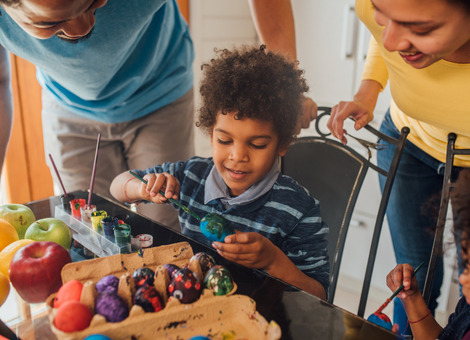
Egg decorating competitions can bring out the competitive side of parents. But try rein in that winning streak and let your little ones create their own amazing eggs. Let them be your guide and be there to hold things in place while the glue dries or hold the glue brush while they add the glitter.
Some competitions no longer allow ‘real’ eggs so head to your local bargain store to grab a egg decorating set (usually only a £1-2). Or if allowed, boil your real egg for around 10 minutes to ensure it is fully hard boiled and leave these to fully cool to prevent burnt fingers let to paint stick properly.
You could always have your little Mumbler draw out their design on paper first, giving you chance to gather supplies and prepare your crafting area. We recently discovered that using the amazon cardboard envelopes opened up as crafting surfaces works really well as you can simply fold them back up, empty waste into the bin and pop in to the recycling.
Teenage Mutant Ninja Egg
Super Simple eggs for any TMNT fan out there. Either add green food colouring to the water for boiling or paint the eggs green and add coloured paper or felt strips and googly eyes!
Snorkelling Egg
This idea is super simple. Paint on the costume/trunks. Add a milk bottle top as the goggles and a straw for the snorkel!
Bird Egg
Cover the eggs with different coloured tissue paper, if you have feathers use for “hair” or shredded paper can also be used. Felt or coloured paper for the beak and eyes can be stuck on
Paste Eggs
Bring water with brown and red onion skins to the boil.
Once boiling, add eggs and boil until the shells are brown (will be longer than the normal 10 mins hard boiling time)
Rub with oil to make them shiny once they are nearly cold.
If you would like them patterned – draw on them with light coloured wax crayon, before boiling.
Rugby Team
One for the sports lovers out there! Cut out your shirt shapes and add the design of your favourite teams. Draw faces on the players and position on either astroturf or grass inside a box. The box can then be decorated with posts and flags and maybe even a crowd! This can also be adjusted to football or hockey!
Humpty Dumpty
Let the kids use their imagination with this one, they can raid the recycling to find accessories!
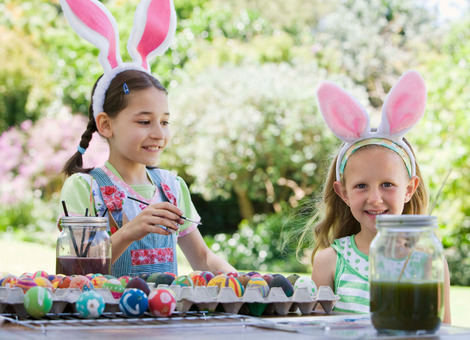
Easter Bunny
A great one for an Easter theme, use pink tissue paper to cover the body, cotton wool for the legs and tail and a biro for the eyes and nose! Minimal parent involvement needed!
Emoji eggs
How can you pick your favourite emoji? Well with this one you don’t have to! For emoji eggs, all you need is yellow & white paint (or use food colouring) and felt pens!
A fab tradition that is totally timeless. Who doesn’t love a beautifully decorated Easter bonnet. Just like the egg decorating, let your little on be your guide and encourage them to design, plan, stick, glue, sew and decorate their Easter bonnet.
If you can, head to your local bargain store to get a bonnet to decorate and some decorating supplies. Little Easter chicks, feathers, faux flowers, stickers, ribbons, tiny teddies and mini foam eggs.
Here are a few ideas, some need more parental involvement than others!
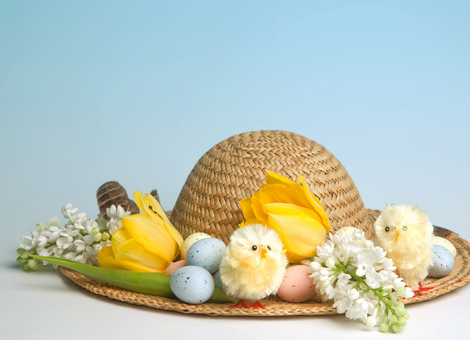
Easter Scene
Tie green ribbon around the bonnet base to be the grass. Glue flowers and chicks around the base to create a beautiful Easter themed field.
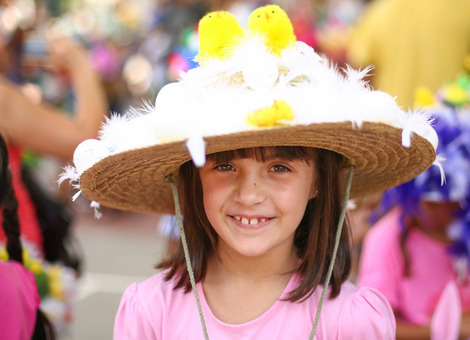
Feathered Fuss
Go crazy with the feathers! Either be methodical and glue one feather at a time. Or cover the hat in glue and pour feather everywhere (I know which option my littlest Mumbler would choose).
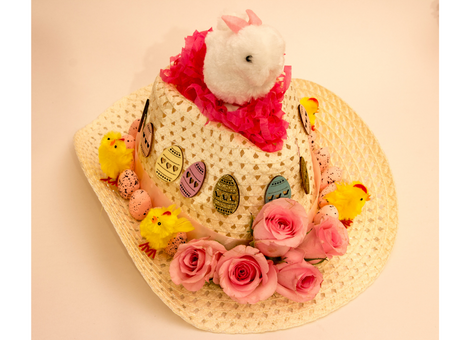
Bunny Bed
Find the tiniest stuffed bunny you can and sew this to the top of the hat, (grown up should do this bit). You can always detach the bunny after the Easter bonnet parade by cutting the threads and gently removing. Go crazy with Easter themed stickers and foam eggs around the base.